Using manual mode on your camera can seem a bit daunting at first. I used to give up because it seemed a lot simpler to put the camera on auto and call it a day. I didn’t have to worry about ruining all the photos by using the wrong settings while using auto….or so I thought.
I found out though that you have a lot more control and things actually turn out the way you want when you use manual mode. I remember being told once that that auto is just this guy in your camera that thinks he knows what is best but really doesn’t…and it’s kind of true.
With that being said I thought I would explain the basics of using manual mode…
Using manual mode involves three things, shutter speed, aperture and ISO. These three things work together to create an exposure, each control the amount of light hitting the cameras sensor. If you adjust one you need to adjust another to keep the same exposure.
Shutter Speed:
The shutter speed controls how fast, or slow, the camera shutter moves. Simply put shutter speed is for motion. In order to freeze motion you need a fast shutter speed, to show motion you would need a slow shutter speed. At the same time a slow shutter speed holds the shutter open for longer and therefore allows more light in, whereas a fast shutter speed lets less light in. So when it is darker outside you might want to try a little slower shutter speed if possible to get as much light as you need to the camera sensor to create your image.
Aperture:
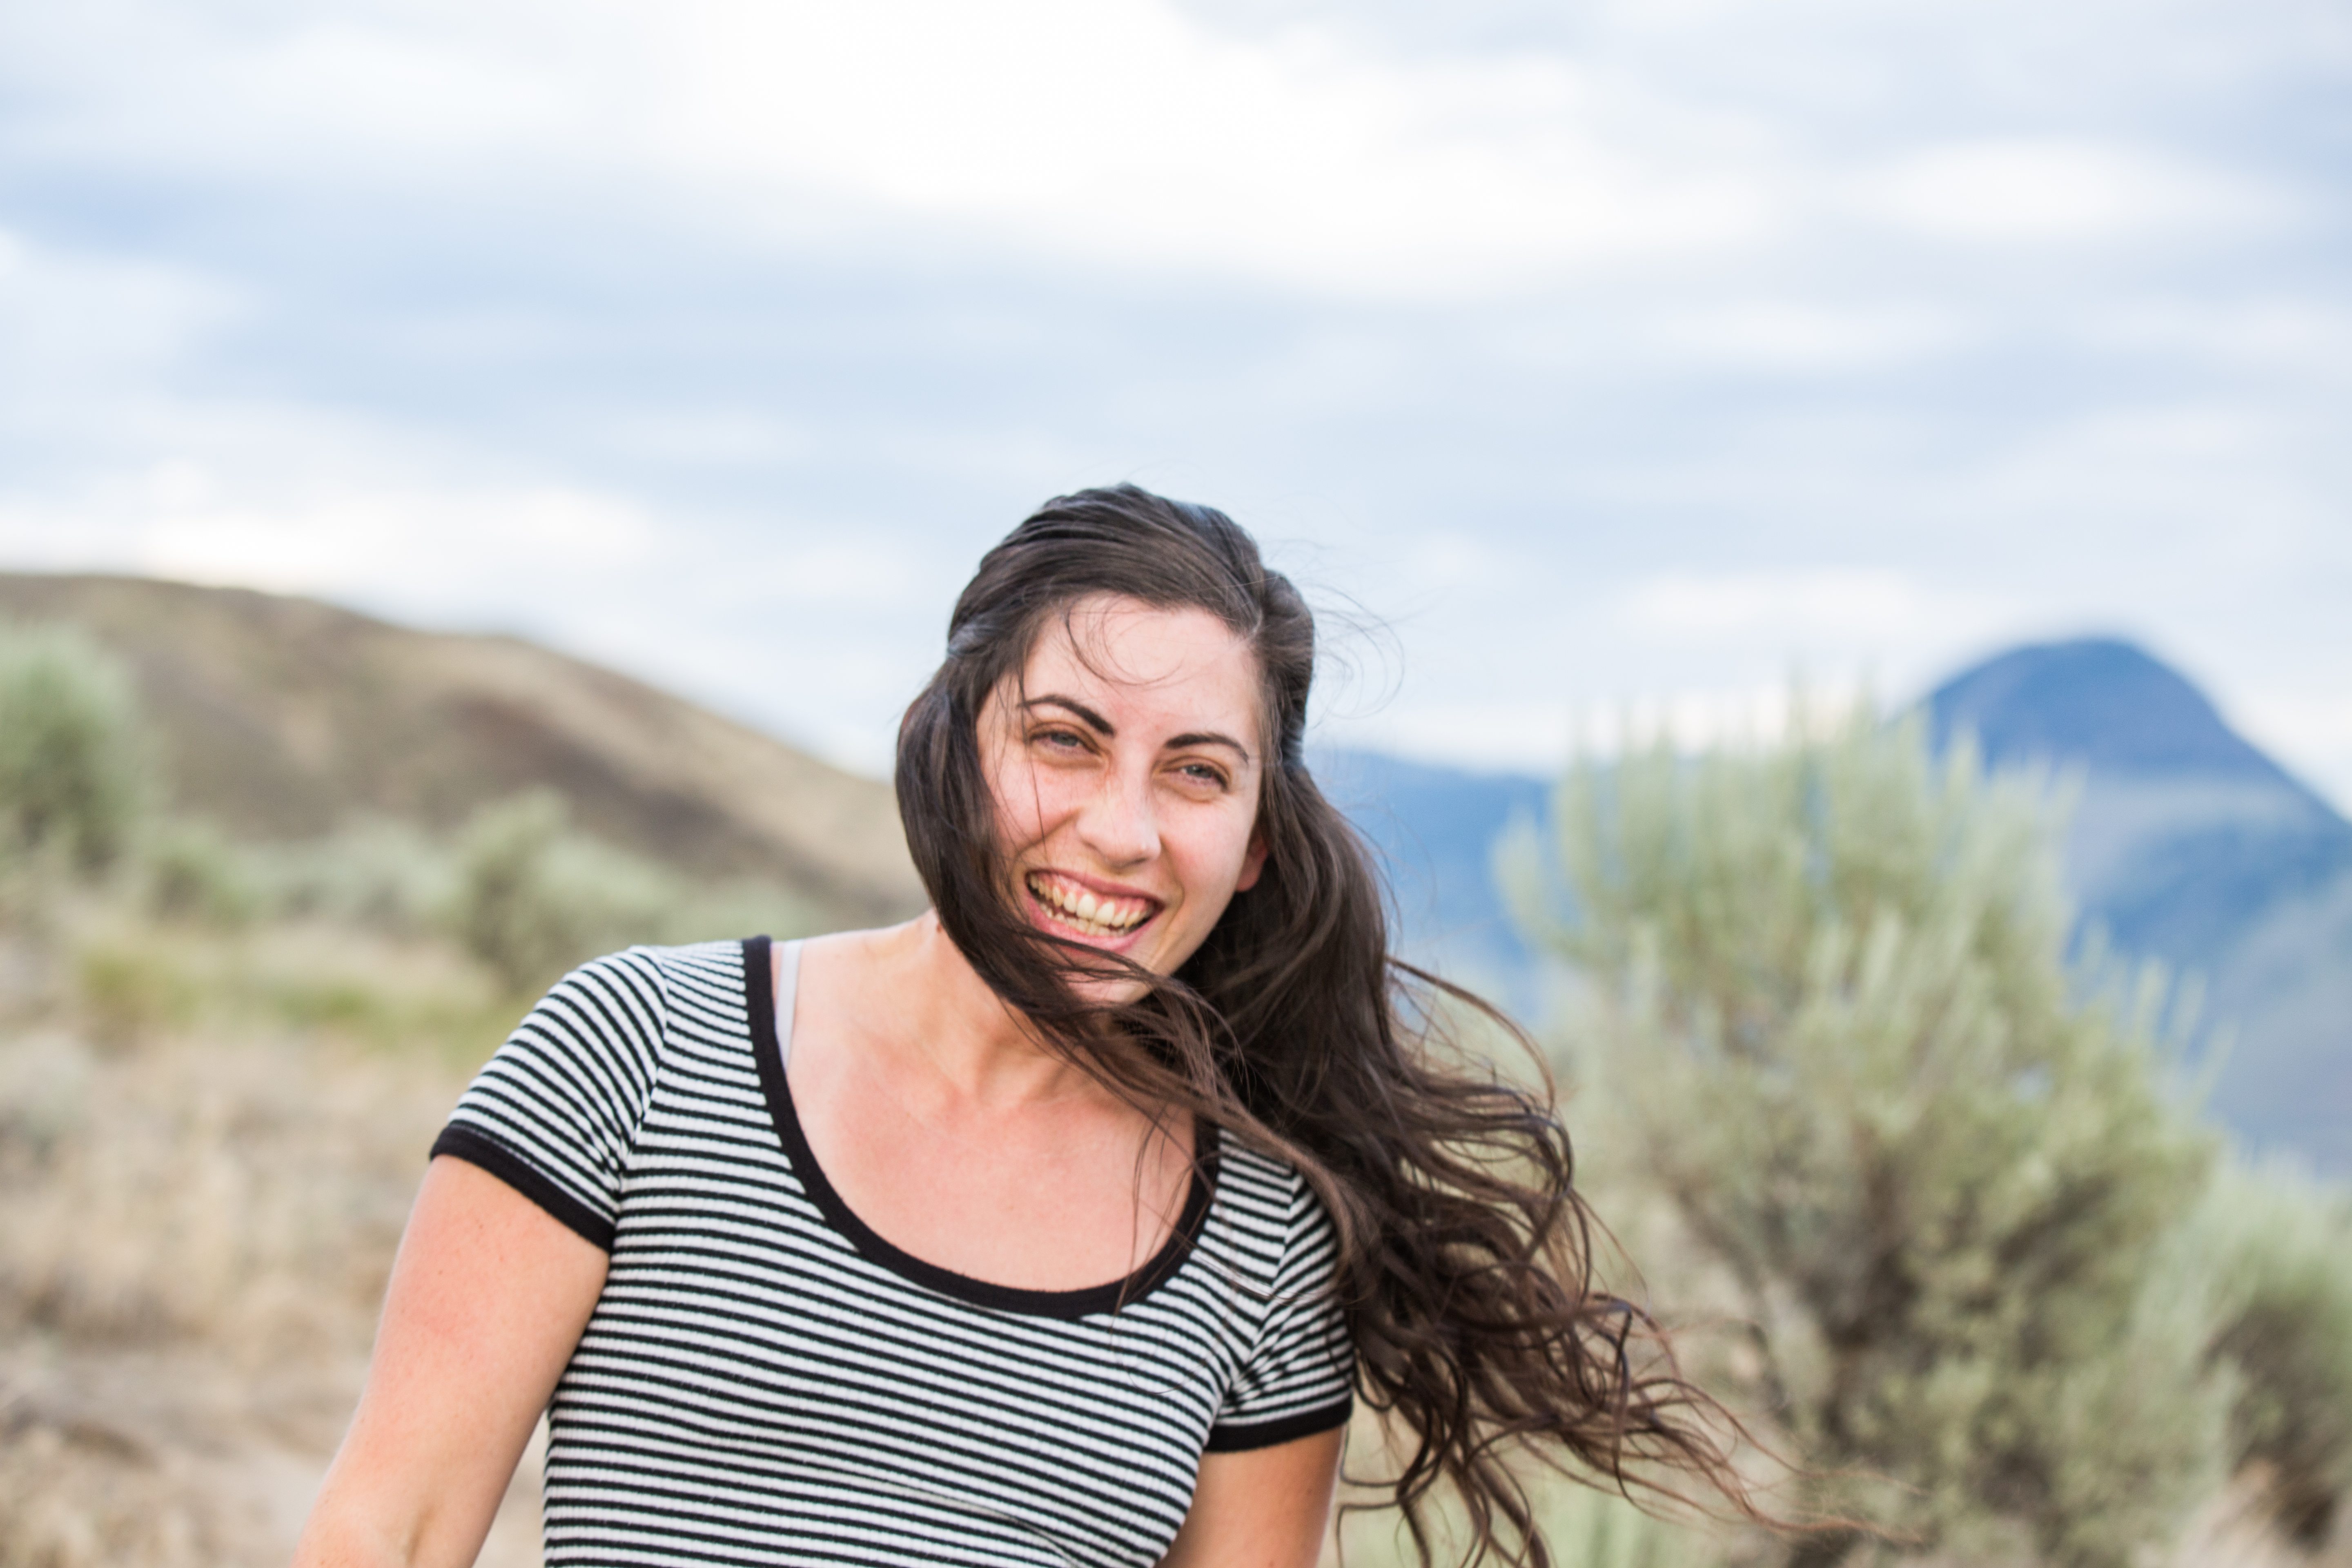
The aperture controls your depth of field, or how much of a picture is sharp. A small number (ex. f2.8) allows for a very shallow depth of field, which can be good for portraits or pictures with busy backgrounds you want to hide since only what you focus on is going to be sharp. A big number (ex f16) will allow for more of the image to be sharp which is good for landscape photography. At the same time a “small” number lets more light in and a “big” number lets less light in.
ISO:
The ISO is the cameras sensitivity to light. The bigger the number the more light the camera allows in. On the flip side the bigger the number usually the grainier the image can end up being. A general rule of thumb if that if you are shooting outside during the day you should be shooting at ISO 100 and darker it is the more you can raise that number though that is all choice in how you like to shoot.
So with all those things in mind when taking an image you will first want to decide if you are shooting for motion or depth of field. In other words if your subject is not moving you will be shooting for depth of field and will first pick your aperture. Once setting your aperture you will want to set your ISO. After setting your ISO you will adjust your shutter speed till you have a proper exposure.
*side note with that…to know when you have a “proper” exposure, when you look through the view finder most cameras will have something similar to the image below and when you adjust your settings the needle will move accordingly. Adjust till the needle is in the middle (or you have the look you want)

If your subject is moving you will first pick your shutter speed. After that you can set your ISO and aperture to get your proper exposure. If your ISO is getting too high and your photos are grainy you may need to go back and adjust your shutter speed or aperture to make your exposure work.
That is it in the simplest and most basic of explanations. Once you have the basics down play with your settings and find out all that you can do with your camera!


